
Tuesday, 22 November 2016
It's Red!
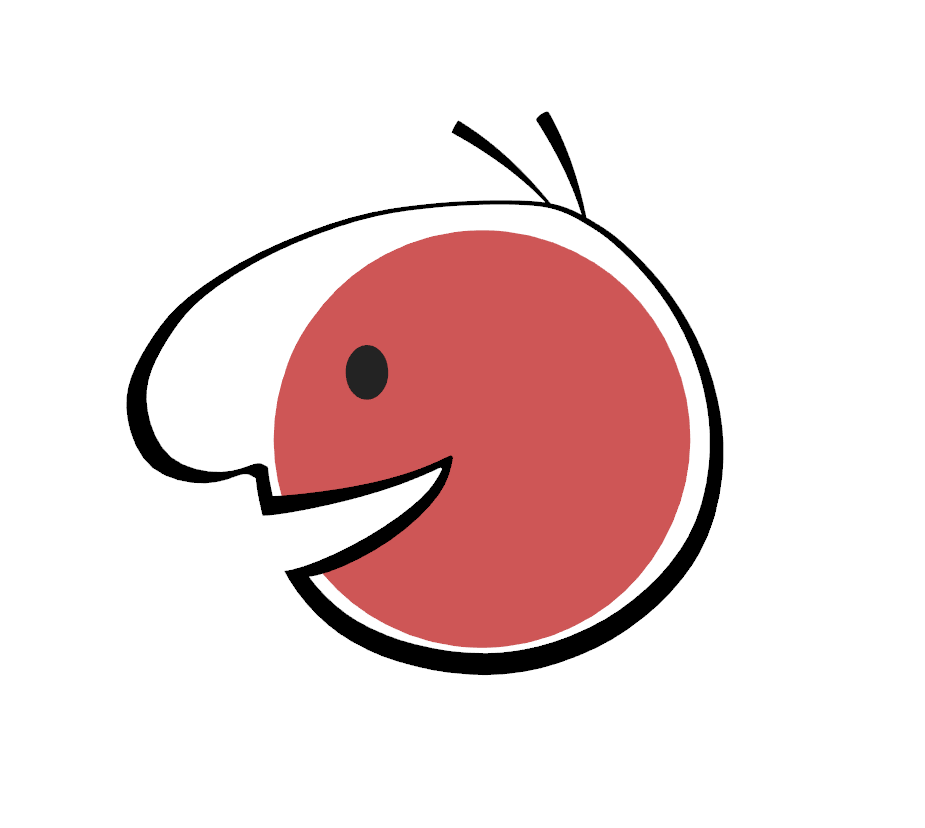
...and here's a turnaround...
...but there's a catch. This isn't the fully rigged version. It is coming though!
Also, there are still one or two things in the model that I want to tweak further. (mostly things to do with the lines, and making sure they look clean and flow nicely)
Other than that, he is the finished article.
While I'm here I want to talk about some of the challenges that have caused me to neglect the blog.
It turns out that with a 2D / 3D hybrid character like Red, there is no perfect position to place the mouth and the eyes. You may not notice this, but in the turnaround I have animated the eyes moving forwards and backwards. I have also animated the width of the mouth.
So from the side, his eyes need to be further back into the face, but from a three quarter degree view, his eyes need to be closer to the nose. Similarly, the mouth needs to be much wider when looking from the side, and much narrower from the front. These 'compensations' (or cheats) are not really noticeable, but are necessary to make the character look great from all angles. This is something I'm looking into building into the rig, either so it is automatic, or so that animators can easily control it.

You might also notice that the picture of Red at the very top shows the mouth cutting into the face, whereas it is solid black in the turnaround. One of my discoveries was that there is no perfect way to transition smoothly from a cutting version of the mouth to a solid black version of the mouth in any one shot. (other than by making the switch when the mouth is closed).
So what I am going to do is add a way to toggle between the solid version or a cutout version (which is specifically for side views only). So just like the eyes, we will need to tweak the character to whatever looks best for a particular shot.
Then we have the legs...

From the original design, I can see that one leg is shorter than the other, and it looks fine. The leg with the black foot starts at the chest, while the leg with the red foot starts and the hips. My first attempt was to recreate this in the character rig, but it didn't work very well. Since then I have decided to root both legs at the chest (in terms of IK mechanics), but only draw the shorter leg from just above the knee to the foot. I believe this is going to be more intuitive to use (although I wont really know until the rig is finished).
(Oh, and I haven't forgotten the eye brows! - they're just not used in every facial expression)
The rigging pipeline has become rather complex, although not because the rigs themselves are complicated! They wont be! No, it's simply that I'm putting a lot of 'niceties' that make the character easier to use.
For example, all the arms and legs are going to use a custom bezier joint setup, combined with IK / FK switch, combined with a Soft IK setup (the soft IK setup removes the popping effect when an IK reaches it's limits). Believe it or not, this has turned out to be the simple bit since it's all scripted. The main things that have taken (and are still taking) time to figure out are things like the ideal joint / control positions, and actually making choices about how different parts of the rig should be controlled.
Once it's done I will be demonstrating how to use it, but you will have to wait a little longer!
Ethan Shilling
Monday, 14 November 2016
Sunday, 13 November 2016
Environment Design: The Flute District / The Oboe District
A few updates regarding production assets! We've got so much to do and the list is long, so trying to work on these whenever I get some spare time. Here are a few from this week. I'm not too sure about some of these. For example, the flute building assets might be a little too fantasy, but there's still room for discussion on all of this stuff. It at least gives us some direction to start creating assets and exploring texturing.
The Flute District
The camera exits the clouds to show us the elegant silvered spires of the aerial Flute City. We spiral past them. It’s beautiful here! Below us, we can see some of the notes we arrived here with circling the spires, platforms and steeples as they continue to drift downwards. We can see too how the valves on the sides of the spires are opening and closing in quick succession, mimicking the action of the instruments which they so closely resemble.


The Oboe District
The sun is rising; the air is golden and gauzy – as impressionist and as gilded as the light in a Thomas Moran-painting. This sequence is a fantasia on a theme of parallax and wipe-cuts, as we move seamlessly and in an unhurried way between a variety of different shots – aerial shots, in which the towers and shimmering waterways abstract effortlessly, become long shots in which red note and his craft are dwarfed by the glinting tube-like structures of the Oboe city’s architecture. Long shots become mid-shots, mid-shots become close-ups, close-ups become abstractions of surfaces and details – and everything feeling dreamlike and silky-smooth. Cross-dissolves are not welcome here!


Thursday, 10 November 2016
Sunday, 6 November 2016
Saturday, 5 November 2016
Environment Design: The Bassoon District
A few small updates whilst I've been trying to catch up on goings on. The big goal is to get this world designed so that asset creation can begin, and for that, we need an art bible. So, for each district, I'm hoping to generate some colour keys, composition shots and production assets which artists can use as a reference to build the world in Maya. Here're a few new (and some old) sketches for the Bassoon District.


Subscribe to:
Posts (Atom)